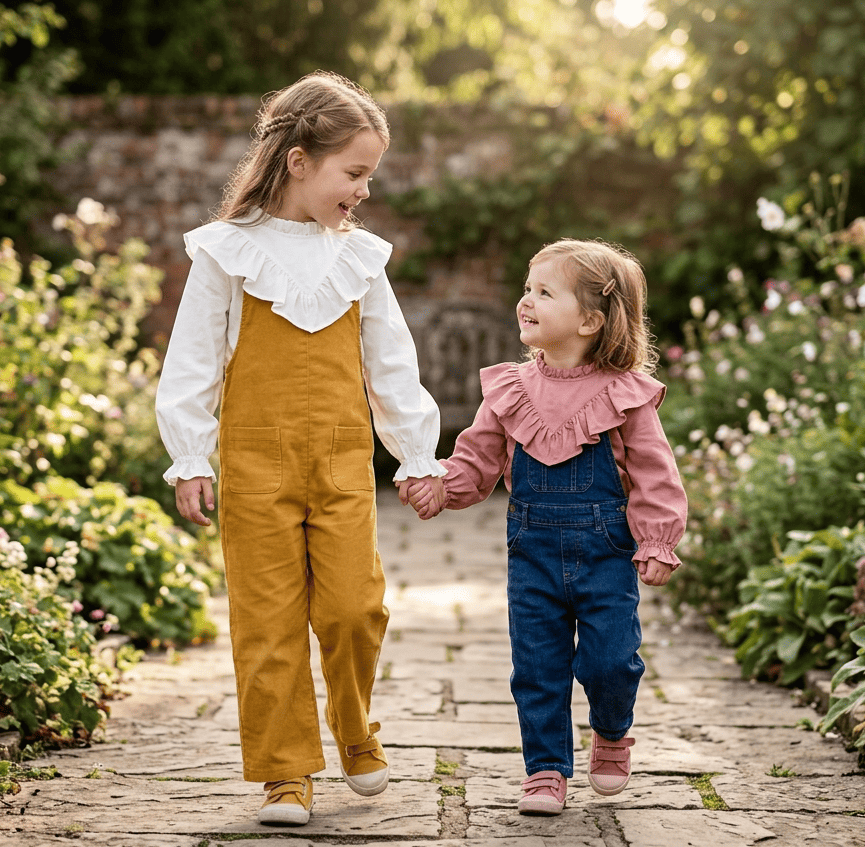
If you’re looking for a delightful weekend sewing project that combines classic vintage charm with playful details, this sweet girl’s floral blouse is a perfect choice. Designed for little ones aged 2 to 6 years, this garment features delicate yokes, a Statement ruffled collar, gathered elastic cuffs, and a neat button-back closure.
Here is a look at what makes this pattern special and how it all comes together!
Key Design Features
-
Frilled Yoke Collar: A multi-layered ruffle extends cleanly across the front and back yokes, giving the blouse a breezy, romantic silhouette.
-
Elasticated Cuffs: Parallel rows of elastic thread create simple, comfy shirring at the wrists.
-
Neat Back Loop Closure: Finished with a slender bias binding neckline and delicate cord button loops down the back.
Fabric & Materials Needed
To create this top, gather the following supplies:
| Item | Requirement |
| Fabric | 1.10 m × 1.50 m (approx. 1.2 yards) Lightweight Cotton or Lawn |
| Buttons | 3 small buttons (1 cm diameter) |
| Closure Cord | 15 cm thin cord or soutache for button loops |
| Notions | Elastic sewing thread, matching thread, bias tape (2 cm wide) |
Pattern Layout & Cut List
The pattern consists of 6 primary pattern pieces, plus two bias strips for trimming:
-
Front Yoke: 1 piece (cut on fold)
-
Front Bodice: 1 piece (cut on fold)
-
Back Yoke: 2 separate pieces
-
Back Bodice: 1 piece (cut on fold)
-
Sleeves: 2 pieces
-
Yoke Ruffles: 4 pieces (joined into a ring)
Step-by-Step Construction Highlights
-
Assemble Yokes & BodiceFinish the center-back yoke edges with a narrow hem. Attach front and back yokes at the shoulder seams, then sew side seams on the main bodice.
-
Prep & Sandwich the Big RuffleJoin the 4 ruffle sections into a continuous loop. Hem the outer edge, gather the inner edge to match the yoke seam line, and sandwich it between the yokes and the lower bodice.
-
Set Sleeves & Add ShirringSet the sleeves into the armholes. Finish sleeve hems with two parallel rows of elastic thread bobbin stitching for a soft, gathered cuff.
-
Finish the Neckline & FastenersGather the narrow neckline ruffle and baste it around the neck edge. Encase the neckline raw edge using the bias binding strip. Finally, form 3 cord loops on one back yoke edge and attach matching buttons on the opposite side.
Download- Ruffle top sewing pattern
👉 Find More Free Children Sewing Patterns
👉 Discover More Girls Sewing Patterns
👉 Browse More Girls Dresses Sewing Patterns
👉 Explore More Free Girls Pants Sewing Patterns
👉 Find More Free Girls Winterwear Sewing Patterns
👉 See More Girls Skirt sewing Patterns
Note- This pattern is available as an open-source resource. All rights remain with the original creator. No copyright infringement is intended.